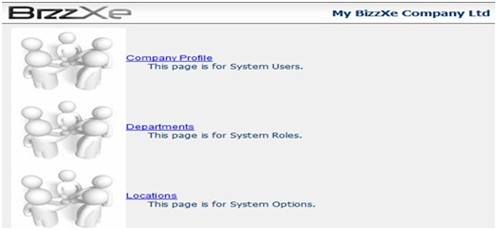
Company Profile and Policies
Path : Administration > Company Policies & Profile> Company Profile
This function includes as follows:
- Company Profile
- Business Policies
- Business Calendar
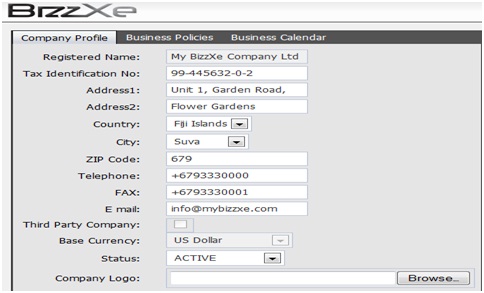
Company File > Company Profile
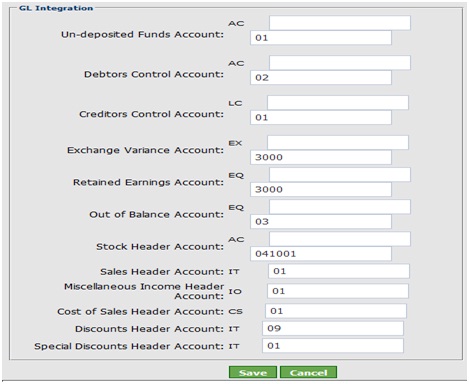
G/L Integration
Purpose :
This function allows the user to set a Name for the Company, Add Tax Identification ,Upload a company Logo..etc. Apart from that, the function allows the user to set GL integrations.
Data Input
Register Name :
Enter the Registered Name of the Company. This Name is used the Company name in Header in the system as well as reports generated in the system.
Tax Identification No :
Enter relevant Company Income Tax Registration Number. This no is used in each Income tax correspondence. Tax Identification No usually given by the Relevant Tax authority in the Country.
Address 1 :
Enter company registration address. That may be Principle office address.
Address 2 :
Enter an extra address.
Country :
Select the country of operation. The user can select via LOV provided.
City :
Select the city of operation. The user can select via LOV provided. Actually when the user selects the Country, The Cities of that country will be sorted into LOV here.
ZIP CODE :
Enter relevant Postal code of the area where operation running in.
Telephone :
Enter the Telephone no of the Office.
Fax :
Enter the fax no of the Office.
Email :
Enter relevant Email address of the business.
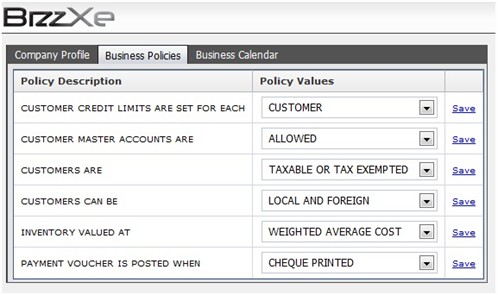
Company Profile > Business Policies
Company Profile > Business Calendar
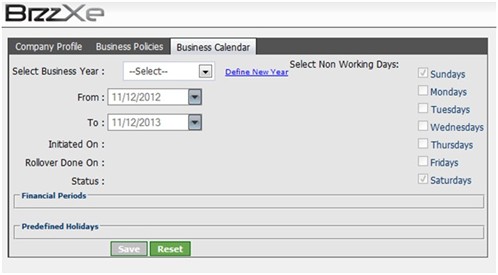
Select Business Year :
Create a New Business year via link “Define New Year”.
Once a year is created, user can define the Period into which Business Year is
fallen.
From / To :
Enter Period start Date and Period Close Date of Business Year selected above. Select Non Working Days: The User select the usual non working days of the week by ticking the days.
Status :
Select whether the Business Year is (Active, Inactive, Or Discontinued)
Financial Period :
The user can define each Financial Periods for Business calendar selected above.
And Each Period can be Activate and Deactivate as well. Once Financial Period is deactivated User will not be able to enter transactions for that period.
Predefine Holidays :
Click the Link “Define a Holiday” and select the holiday via Calendar provided. User can enter the reason why selected date is a Holiday.
<Save> : Press Save button to save the details entered.
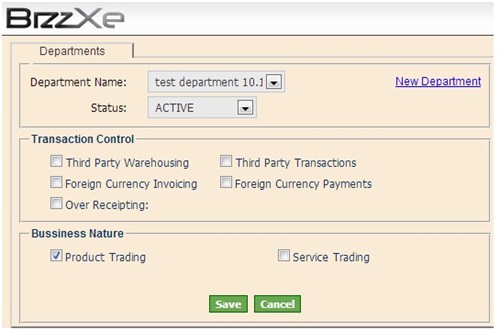
Path : Administration > Company Policies & Profile> Departments
Data Input
Department Name :
Press ‘New Department” Link to create a New Department and select Created Departments from LOV provided.
Status :
Select as to whether the Department is (Active, Inactive or Discontinued).
Transaction Control :
Select appropriate Option by ticking.
Business Nature :
Select whether the Department is related to Product or Services or a combination of those products are in inventory
<Save> :Press the button to save the data.
<Cancel> : Press the button to cancel the entered data.
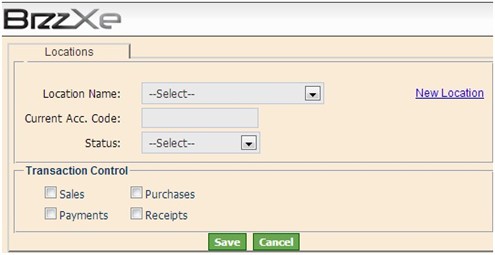
Path : Administration > Company Policies & Profile> Locations
Data Input
Location Name :
Press New Location Link to create a new Location under a certain Department.
Then Select the Location via LOV.
Current Acc. Code :
Enter the allocated current Account Code of the Location. This will be used when transactions are done Cross Locations.
Status :
Select the status of Location as to (Active, inactive or Discontinued).
Transaction Control : eg only sales etc
<Save> : Press the button to save the data.
<Cancel> : Press the button to cancel the entered data.